

Key Takeaways
Summary
32 items · 45–90 minutes
Why a Move-In Inspection Is Non-Negotiable
Your security deposit — often equal to one or two months' rent — is at risk from the moment you hand over your first check. Without a documented record of the unit's condition on day one, you have little recourse if a landlord later attributes pre-existing damage to you. A room-by-room inspection, completed before or on the day you move in, creates an authoritative baseline that protects your money throughout your tenancy.
Many states require landlords to provide a written move-in checklist; even where it isn't mandated, completing your own is smart practice. Pair written notes with timestamped photographs and, if possible, get your landlord or property manager to co-sign the document. For a deeper look at how deposits are regulated and what deductions are legally permitted, see our guide on how security deposits work.
Inspect Before You Move Anything In
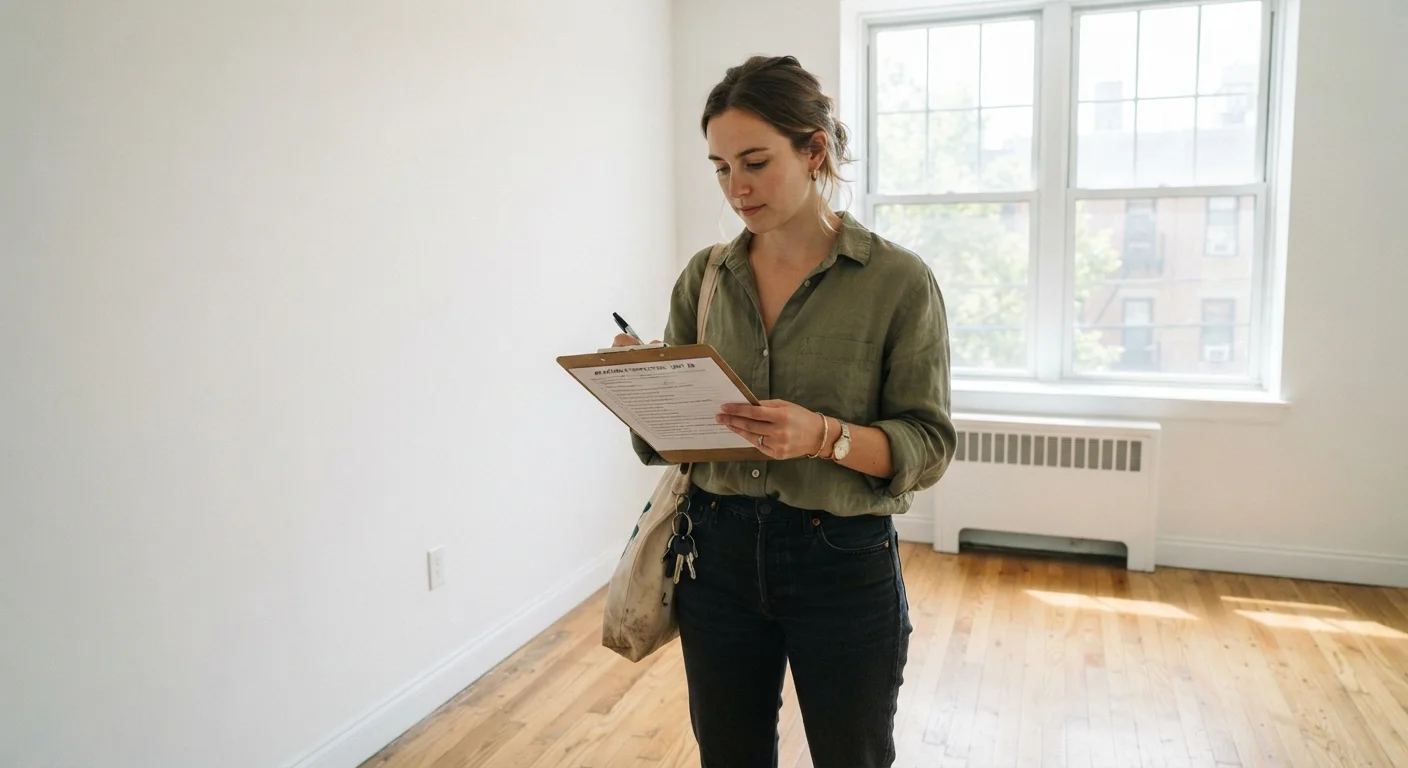
Complete this inspection before moving any furniture or boxes inside. Once items are in place, it becomes far harder to document floors, baseboards, and wall corners accurately — and any damage found later may be attributed to your move-in process. Schedule at least 45 minutes for the walkthrough before the first moving truck arrives.
Complete this inspection before moving any furniture or boxes inside. Once items are in place, it becomes far harder to document floors, baseboards, and wall corners accurately — and any damage found later may be attributed to your move-in process.
What You'll Need for the Walkthrough
Gather your supplies before you start so the inspection flows efficiently. A disorganized walkthrough leads to missed items.
Smartphone with camera
Capture timestamped photos and short video walkthroughs of every room and defect.
Printed or digital inspection checklist
Provides a structured record you can annotate and share with your landlord for co-signature.
Outlet tester
Quickly identifies non-functioning or incorrectly wired electrical outlets without guesswork.
Flashlight or phone torch
Illuminates dark closets, under-sink cabinets, and corners where damage is easy to miss.
Notepad or note-taking app
Records written descriptions of damage that photos alone may not fully capture.
If your landlord provides a pre-printed checklist, use it alongside your own notes — don't rely on it exclusively. Pre-printed forms sometimes omit specific areas or use vague language that won't hold up if disputed. For guidance on how to photograph and document conditions effectively, see how to document your apartment's condition from day one.
Room-by-Room Inspection Checklist
Work through every room systematically. Use the same order each time so nothing is skipped. Note the condition of each item as Good, Minor Damage, or Needs Repair, and photograph anything that isn't in good condition.
Entryway & Common Areas
Living Room & Bedrooms
Kitchen
Bathrooms
Safety & Systems
Exterior & Shared Spaces
Report Problems in Writing Immediately
Verbally telling your landlord about an issue is not enough — if it isn't in writing, it's very difficult to prove later. Send an email or text as soon as you identify a problem, and keep a copy of every message. Delays in reporting can also expose you to liability if a minor issue worsens over time.
If you discover something significant — a broken smoke detector, a water stain suggesting a leak, a non-functioning heating unit — report it to your landlord in writing immediately. Verbal reports are difficult to prove. Written communication habits you establish from day one can make all the difference if a dispute arises later.
After the Inspection: Protect Your Record
Once you've completed the walkthrough, organize your notes and photos immediately. Create a single document — a PDF or a shared cloud folder — that includes your written checklist and all timestamped images. Send a copy to your landlord via email so there is a date-stamped record that they received it. Keep your own copy in a location you'll be able to access at move-out, even if you change devices or email accounts.
If your landlord refuses to acknowledge the report or disputes items you've documented, do not delete any evidence. State laws governing security deposits vary significantly, and knowing the rules in your jurisdiction strengthens your position. For a full picture of your rights and responsibilities from search to move-out, the complete renter's roadmap is a useful reference. First-time renters can also find broader lease-signing guidance in what nobody tells you before you sign.
This article is for general informational purposes only and does not constitute legal or financial advice. Tenant-landlord laws vary by state and locality. Consult a qualified attorney or your local tenant rights organization for guidance specific to your situation.