

Food & Drink

Before You Start Cooking: A Kitchen Readiness Checklist

Share
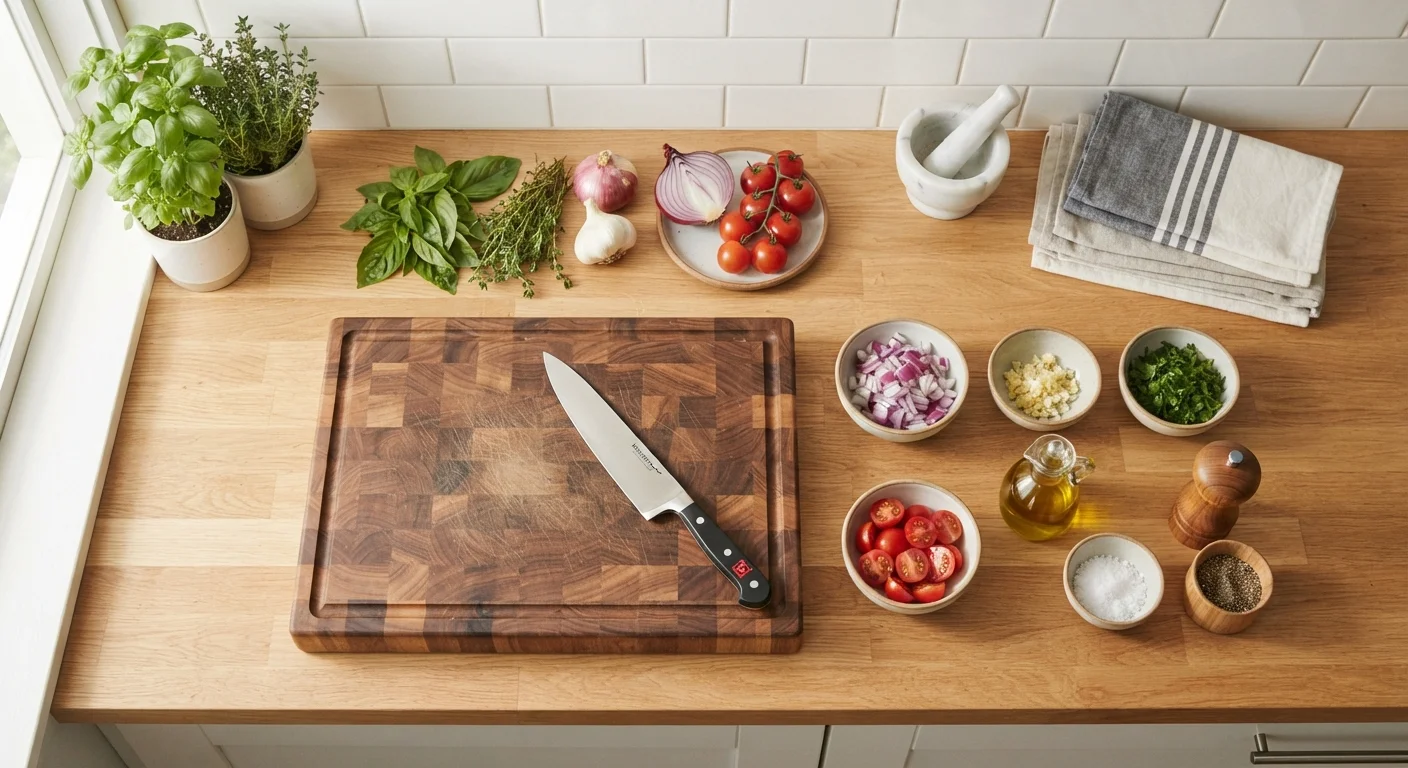
Organized kitchen countertop with cutting board, knife, prep bowls, and fresh ingredients ready to cook

Key Takeaways

Reading the full recipe before touching any ingredient prevents the most common mid-cook scrambles.
A clear, clean workspace reduces cross-contamination risk and keeps your focus on the food.
Checking equipment and ingredient temperatures ahead of time prevents avoidable recipe failures.
Gathering and prepping all ingredients before cooking — mise en place — makes the process calmer and faster.
Simple hygiene steps at the start protect everyone who will eat what you prepare.
10–20 min

Summary

18 items · 10–20 minutes

Why a Pre-Cook Checklist Matters

Most kitchen mishaps don't happen because a cook lacks skill — they happen because something wasn't ready. A missing ingredient discovered mid-sauté, a pan that wasn't preheated, butter still rock-solid in the fridge: these small oversights cascade into real problems. Running a quick check before you begin is one of the simplest habits you can build.

This checklist is designed for everyday home cooks tackling any recipe — from a weeknight stir-fry to a weekend baking project. It pairs naturally with understanding how to read a recipe fully before the first ingredient hits the pan, and it supports the organizational philosophy behind mise en place — having everything in its place before cooking begins.

Work through the groups below in order. Most cooks find the whole process takes ten to twenty minutes, and it consistently leads to calmer, more successful results.

Required

Cutting board (two recommended)

Provides a stable surface for prep work; a second board dedicated to raw proteins prevents cross-contamination.

Required

Prep bowls or ramekins

Used to measure and hold pre-portioned ingredients before cooking begins, making the cooking process faster and more accurate.

Required

Kitchen timer

Tracks cooking and resting times precisely so nothing is over- or undercooked.

Optional

Instant-read thermometer

Verifies the internal temperature of proteins and baked goods for accurate doneness.

Required

Measuring cups and spoons

Ensures ingredient quantities match the recipe precisely, which is especially critical in baking.

The Full Kitchen Readiness Checklist

These items are organized into logical stages — from reading your recipe to final hygiene steps. Check each one before you apply heat to anything.

Recipe Review

Read the entire recipe from start to finish before doing anything else, noting every technique, timing cue, and unfamiliar term. Must
Identify any steps that require resting, chilling, or marinating time so you can plan your overall timeline accurately. Must
Note which ingredients need to be at a specific temperature — room-temperature eggs, softened butter, cold cream — and pull them from the fridge now if needed. Must

Ingredients & Pantry

Confirm every ingredient on the recipe list is in your kitchen before you begin — check the fridge, freezer, and pantry. Must
Measure out dry and wet ingredients into individual prep bowls or ramekins so they're ready to add without pausing mid-cook. Should
Check expiration dates on dairy, eggs, spices, and leavening agents like baking powder, which loses potency over time. Should
Rinse and dry produce now rather than scrambling to wash it while something is already on the heat. Must

Workspace & Equipment

Clear and wipe down your primary work surface so you have enough room to prep without crowding your cutting board. Must
Pull out every pot, pan, baking dish, and utensil the recipe calls for and confirm each is clean and functional. Must
Check that small appliances — blenders, stand mixers, food processors — are assembled correctly and plugged in before you need them. Should
Confirm your oven or stovetop is working and set the oven to preheat if the recipe requires it; most ovens need 15–20 minutes to reach temperature. Must
Have a timer ready — phone, kitchen timer, or oven clock — so you can track multiple steps accurately. Should

Knife Prep & Safety

Place a damp towel or non-slip mat under your cutting board to prevent it from sliding while you cut. Must
Use the correct knife for the task — a chef's knife for general chopping, a paring knife for detail work — and confirm the blade is sharp enough to work safely. Dull knives require more force and slip more often. Should

Food Safety & Hygiene

Wash your hands thoroughly with soap and warm water for at least 20 seconds before handling any food. Must
Designate a separate cutting board for raw proteins — meat, poultry, and seafood — to prevent cross-contamination with produce or ready-to-eat foods. Must
Confirm that any meat, poultry, or seafood has been safely thawed in the refrigerator — never on a countertop at room temperature. For more on these practices, see food safety habits for the home kitchen. Must

Don't Skip the Food Safety Steps

The hygiene and cross-contamination items in this checklist are not optional extras — they are foundational. Improperly handled raw proteins and unwashed produce are among the leading causes of foodborne illness at home. If you're short on time, it may be tempting to compress prep steps, but the food safety group should always be completed in full.

Once you've confirmed everything below, you're genuinely ready to cook. For guidance on what to do when things still go sideways, see how to fix the most common home cooking errors. And if your session involves prepping multiple meals at once, meal prepping strategies for busy households can help you plan efficiently without burning out.

Food & Drink Editorial Team is the collective byline for our editorial team and contributor network. Articles published under this byline or an editorial pen name are researched, written, and reviewed according to our editorial standards for clarity, consistency, and independence before publication.

View all articles by Food & Drink Editorial Team →
Disclaimer: The content on this site is for informational purposes only and is not a substitute for professional advice. Always consult a qualified professional for guidance specific to your situation.