

Key Takeaways
Why a Guest Network Is Worth Setting Up
When a visitor connects their phone or laptop to your primary Wi-Fi, they join the same network as your personal computers, smart home devices, and anything else you've connected. A compromised device — even unknowingly — can scan for other devices, intercept unencrypted traffic, or spread malware within a shared network. A guest network eliminates that exposure by creating a completely separate wireless segment.
The concept is straightforward: guest devices get internet access, but they're walled off from your main network. Think of it like a lobby with its own door to the street but no access to the rest of the building. This is especially useful if you frequently have friends over, run a home-based business with client visits, or operate smart home devices you'd rather keep isolated from computers holding sensitive data.
For context on how your router manages multiple networks simultaneously, see our guide to how routers, modems, and access points work. Understanding the underlying hardware makes these settings less intimidating.
What you will need
What You'll Need Before Starting
Setting up a guest network requires only your router's admin access and a few minutes. No additional hardware is typically needed — the feature is built into most modern routers. If you're running a mesh network system, guest network setup may happen through a companion app rather than a browser-based admin panel; check your system's documentation for the specific steps.
Router admin panel
The web-based interface where you enable and configure the guest network settings.
Ethernet cable
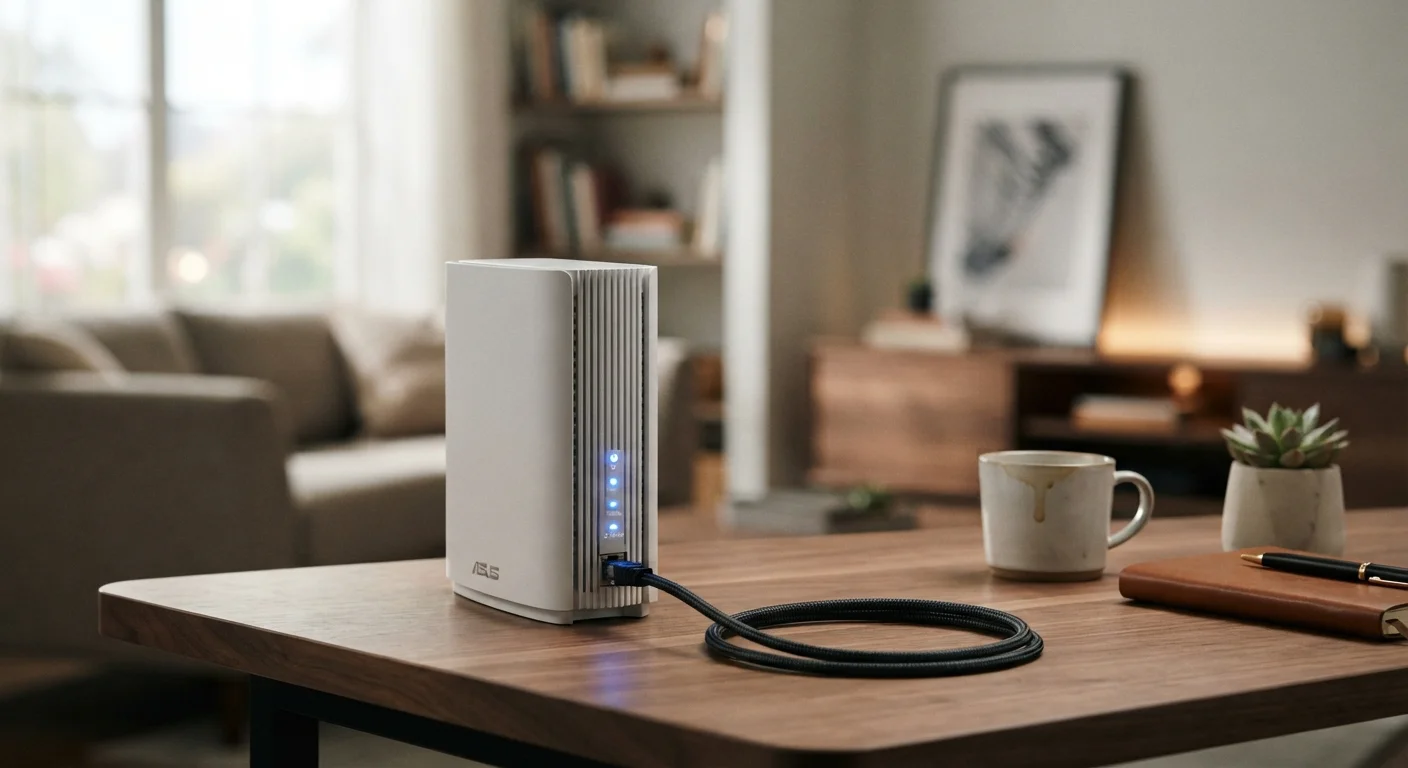
Provides a stable connection to the router during setup, avoiding disruption if Wi-Fi settings change.
Router manual or manufacturer support page
Provides model-specific navigation guidance if your admin panel layout differs from generic instructions.
Use a Memorable but Secure Guest Password
Guest passwords need to be sharable quickly — often verbally. Aim for a passphrase of three or four unrelated words rather than a complex string of characters. This balances ease of sharing with reasonable security strength.
Step-by-Step: Creating Your Guest Network
Follow these steps to configure a guest network on most home routers. The interface terminology may vary slightly by manufacturer, but the underlying options are consistent across major brands.
Log in to your router's admin interface
Open a web browser on a device connected to your home network. Type your router's admin IP address into the address bar — commonly 192.168.1.1 or 192.168.0.1. Enter your admin username and password when prompted. If you've never changed these credentials, check the label printed on the router itself.
ipconfig (Windows) or netstat -nr (Mac/Linux) and look for the Default Gateway value.Locate the Guest Network settings
Once logged in, navigate to the wireless or Wi-Fi settings section. Look for a tab or menu item labeled Guest Network, Guest Access, or Guest Wi-Fi. The exact location varies by router brand and firmware — consult your router's documentation if you can't find it quickly.
Enable the guest network
Toggle the guest network feature to Enabled or On. You'll typically be prompted to choose whether to create a 2.4 GHz network, a 5 GHz network, or both. For broadest device compatibility, enabling the 2.4 GHz band is a reliable default — it has wider range and works with older devices.
Set the network name (SSID) and password
Give your guest network a recognizable name — something like YourLastName-Guest works well. Avoid naming it in a way that reveals your home address or full name. Then set a strong, unique password that is different from your main network. Aim for at least 12 characters.
Enable client isolation
Look for a setting called Client Isolation, AP Isolation, or Guest Isolation and enable it. This prevents devices connected to the guest network from communicating with each other or with devices on your main network — a critical security boundary.
Set bandwidth limits if available
Many routers offer optional bandwidth throttling for guest networks under labels like Access Control or Bandwidth Limit. Setting a cap — such as 20–30 Mbps — prevents guests from consuming your entire connection during large downloads or video streaming, keeping your main network responsive.
Save your settings and test the connection
Click Save or Apply to push your configuration live. The router may restart briefly. Once it's back online, use a smartphone or tablet to search for your new guest network name, connect using the password you set, and confirm that internet access works. Also verify you cannot browse to devices on your main network (such as a shared printer or NAS drive) from the guest connection.
Never Reuse Your Main Network Password
Your guest network password should be completely different from your primary Wi-Fi password. If a guest's device is compromised, sharing a password gives attackers a foothold into your main network. Treat the guest password as a separate, standalone credential and update it regularly.
Ongoing Management and Security
Setting up the guest network is a one-time task, but a few maintenance habits keep it secure over time. Change the guest password periodically — every few months is a reasonable cadence, or whenever a large group of visitors has had access. Most router admin panels show a list of currently connected devices; reviewing this list occasionally lets you spot anything unexpected.
If you want to go further in locking down your home network as a whole, our practical walkthrough for securing your home Wi-Fi covers encryption standards, default credential changes, and more. You may also find it useful to read about common home network vulnerabilities and how to address them to understand the broader risk landscape.
A guest network also serves as a useful comparison point for understanding why public Wi-Fi carries more risk — on a guest network you control the hardware and settings, whereas public networks offer no such assurance. Our article on public Wi-Fi risks most users overlook explains why that distinction matters.
Check Router Firmware Before You Start
Outdated router firmware can expose security vulnerabilities even on a properly configured guest network. Before setting up any new network segment, verify your router is running a current firmware version through the admin panel. Consult your router's documentation for update instructions.