

Key Takeaways
Why Sheet Pan Cooking Works
Sheet pan dinners succeed because dry, high oven heat - typically between 400°F and 425°F - triggers the Maillard reaction, the browning process that builds deep, roasted flavor across both proteins and vegetables simultaneously. Unlike stovetop methods, the oven does the active work once the pan goes in, freeing you up for other tasks.
The method also maps well onto a nutritionally complete meal. A single pan can hold a protein source, starchy vegetables or a carbohydrate, and fiber-rich produce at once. For a practical framework on how those components fit together, see building a nutritionally balanced meal without overcomplicating it. Sheet pan cooking is essentially that framework made practical and oven-ready.
Success depends on three variables: heat level, pan space, and sequencing. Get those right and the method is nearly foolproof - even for cooks who are still developing confidence. If you're building those foundational skills, easy cooking from scratch covers the underlying techniques that apply here.
The Single Best Habit for Sheet Pan Success
Always pat proteins dry with paper towels before oiling and seasoning them. Surface moisture converts to steam in the oven and actively works against browning. A dry surface means faster, more even caramelization - which is the whole point of roasting.
What You'll Need
Before you begin, assemble your tools and ingredients. The equipment list is intentionally short - that simplicity is one of the method's core advantages.
Rimmed half-sheet pan (18×13 inches)
The standard size for roasting a full meal for 2-4 people; the rim prevents juices from dripping into the oven.
Parchment paper or aluminum foil
Lines the pan for faster cleanup; foil also slightly increases bottom browning.
Instant-read thermometer
Confirms safe internal temperatures for proteins, particularly poultry and pork.
Large mixing bowl
Used to toss proteins and vegetables evenly with oil and seasoning before arranging on the pan.
Sharp chef's knife and cutting board
Needed to cut ingredients into uniform pieces that cook evenly.
What you will need
Step-by-Step: Building Your Sheet Pan Dinner
Follow these steps in order. Most of the hands-on work happens in the first ten minutes; the oven handles the rest. Keep the pantry staples that make everyday cooking faster in mind when choosing your seasonings - dried herbs, garlic powder, smoked paprika, and cumin are consistently reliable choices.
Preheat the oven and prepare the pan
Set your oven to 425°F (220°C) and position a rack in the center. Line your half-sheet pan with aluminum foil or parchment paper for easier cleanup. If you want more browning on the bottom of your protein, skip the liner and use a lightly oiled bare pan.
Select and cut your ingredients to uniform size
Choose one protein and two to three vegetables. Cut everything into similar-sized pieces so they cook at roughly the same rate. A useful guideline: aim for 1- to 1.5-inch pieces for most vegetables. Dense vegetables like carrots or sweet potatoes should be cut smaller (about 3/4 inch) since they take longer to cook through than softer options like zucchini or cherry tomatoes.
Coat everything with oil and seasonings
In a large bowl, toss the protein and vegetables separately with oil. Use approximately 1 tablespoon of neutral oil (such as avocado or canola) per pound of food. Season generously with salt, black pepper, and your chosen dried herbs or spices. Coat every surface evenly - bare spots don't brown, they steam.
Arrange with space between pieces
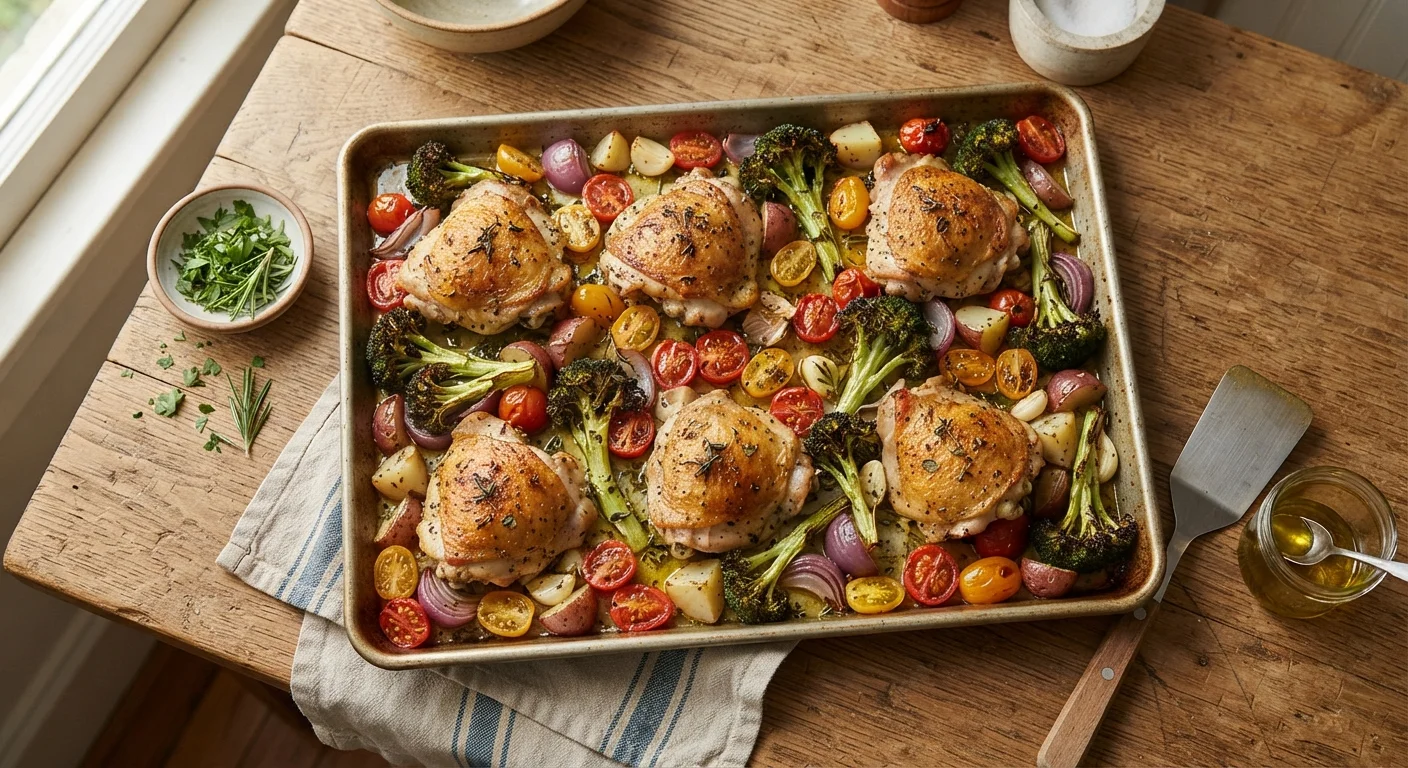
Spread the protein across one side of the pan, skin or presentation side up. Spread denser vegetables on the remainder in a single layer with visible space between each piece. Hold back fast-cooking vegetables (cherry tomatoes, asparagus, zucchini) - you'll add those later. Do not pile or stack any ingredients.
Roast in stages, adding delicate vegetables partway through
Place the pan in the preheated oven. For chicken thighs with root vegetables, start roasting for 20 minutes. Then add any fast-cooking vegetables and return the pan for a final 15-20 minutes. Internal temperature for chicken should reach 165°F (74°C) at the thickest point when tested with an instant-read thermometer.
Rest briefly, then serve
Remove the pan from the oven and let the protein rest for 3-5 minutes before serving. This allows juices in the meat to redistribute, which improves texture and moisture. Serve directly from the pan or transfer to a platter. Finish with a squeeze of lemon juice or a sprinkle of fresh herbs if you have them - acidity brightens roasted flavors noticeably.
Don't Skip the Thermometer for Poultry
Visual cues like color and juice clarity are unreliable indicators of doneness. Chicken must reach an internal temperature of 165°F (74°C) at the thickest part, away from bone, to be safe to eat. An instant-read thermometer is the only accurate way to confirm this - it's a low-cost tool that removes all guesswork.
Variations, Troubleshooting, and Next Steps
Once you've made one sheet pan meal, the formula adapts to dozens of combinations. Swap chicken thighs for salmon fillets (reduce oven time to 12-15 minutes), swap broccoli for Brussels sprouts or green beans, or add cubed sweet potato for a starchy component. The sequencing logic stays the same regardless of ingredients.
Common problems and fixes:
- Soggy vegetables: The pan was overcrowded. Split the ingredients across two pans next time, or reduce the volume.
- Undercooked protein with overcooked vegetables: Add the vegetables later in the cooking window, not at the start alongside dense proteins.
- Uneven browning: Flip pieces at the halfway mark and make sure nothing is stacked or overlapping.
Sheet pan cooking pairs naturally with batch habits. If you prepare a larger quantity, the leftovers can anchor lunches the next day. The meal prepping without burnout guide covers how to build that kind of sustainable rhythm without overextending your prep sessions. For nights when you want an equally fast alternative, weeknight egg dishes beyond scrambled offer a stovetop approach that comes together just as quickly.